Invoices > Mass Invoicing
To mass invoice:
1. From the Finances Main Menu,
in the Invoices Module
group, click Mass Invoicing to display
the Mass Invoicing Module dialog.
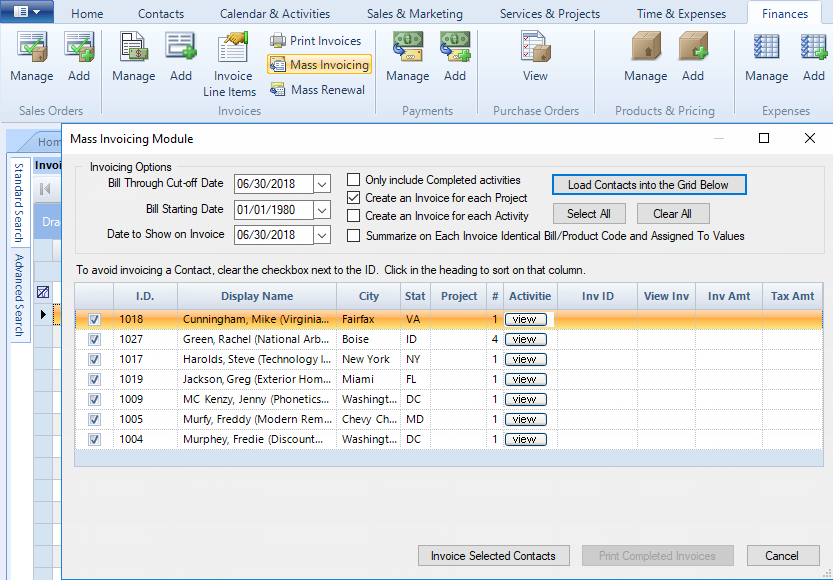
2. Filter your search criteria by selecting the appropriate dates from the drop-down lists for the following fields:
● Invoicing Options
o Bill Through Cut-off Date
o Bill Starting Date
o Date to Show on Invoice
● Select the checkboxes as appropriate for your company.
o Only include Completed activities
o Create an Invoice for each Project
o Create an Invoice for each Activity
o Summarize on Each Invoice Identical Bill/Product Code and Assigned To Values
3. Click Load Contacts into the Grid Below
● All contacts that have completed billable activities display in the grid.
4. To preview the activities before the invoice is created, click View associated with each record.
5. Uncheck the box in the first column of the grid to avoid invoicing a contact.
6. Press Invoice Selected Contacts
to display a prompt.
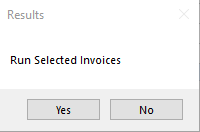
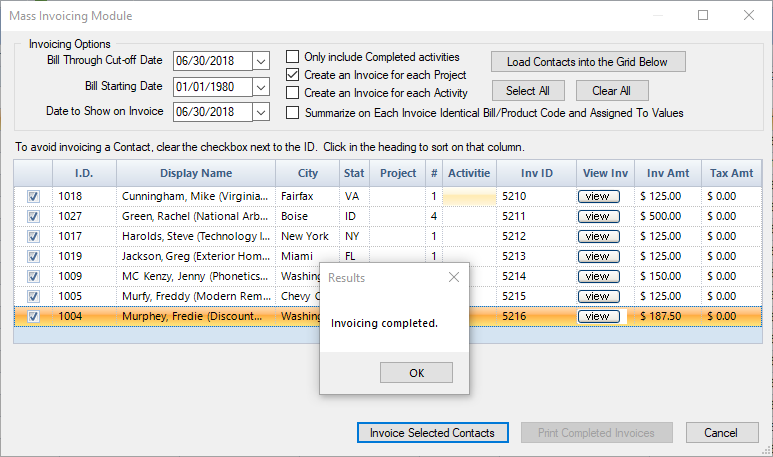
● Click Yes to run selected invoices.
● The Invoice ID, Invoice Amount and Tax Amount columns of the selected records populate.
● A prompt displays
when the Invoicing is completed.
7. Click Print Completed Invoices  to display the Invoices Report screen.
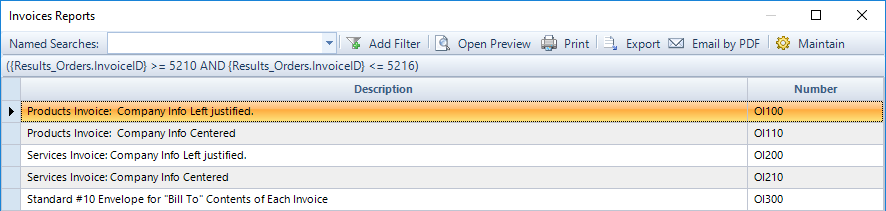
● Highlight the preferred layout for your invoice, then select an option from the top of the screen:
o Select from the drop-down list in the Named Searches field.
o Click Add Filter to generate a new Named Search.
o Click Open Preview to preview the report.
o Click Print to print the report
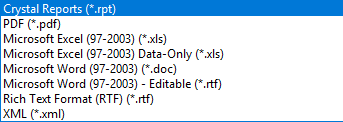
o Click Export to save the report. The default is Crystal
Reports (*.rpt).
o Click Email by PDF to send an email with the report as a PDF attachment.
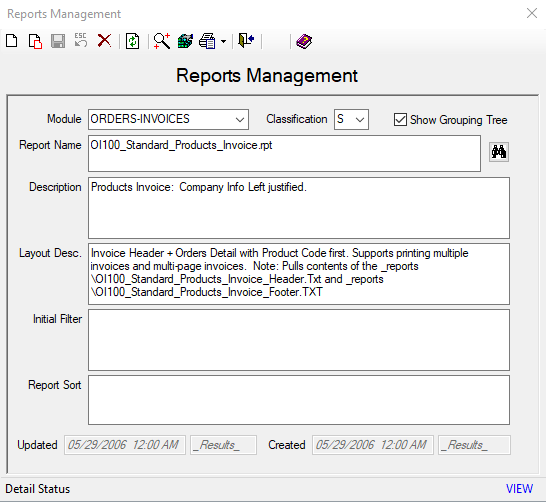
o Click Maintain to display the Reports
Management dialog.
ResultsCRM User Help (August 2018)
![]()